


Attempting to self-tan at home without the help of a professional artist may seem like an impossible task, especially when we've all seen the poor girl who overdid it and showed up to the pool party looking like an oompah-loompa from Willy Wonka (been there, done that). Don't fret! By following our simple how-to steps, below, you can achieve those salon results at home for a fraction of the cost and no sun damage, wohoo!
The most important thing when self-tanning is not the tanning itself, but the steps you take to prep your skin so that it is in tip-top shape. Prepping your skin is so critical to getting a streak-free tan at home (it's all in the prep, girl).
The steps you take BEFORE you apply tanner are just as if not more important as which tanner you choose, and how you apply it. Trust me when I say, there really is an art to self-tanner.
1. IT'S TIME to SHAVE
The first step to a proper tanning routine is to shower and shave as you typically would (legs, underarms, or any other areas where you prefer to go bare). Hair and stubble can become collection points for tanning solution, preventing an even tone to the skin. Also to note: shaving is a mild exfoliant, revealing fresh, smooth skin and allowing for better absorption of the tanning solution. It is recommended to shave at least 12 hours before tanning to avoid any irritation.
2. EXFOLIATE to LOOK GREAT
Now that you've shaved, if you have the time to take your prep a step further, you can choose a physical exfoliant like HIGHER EDUCATION GRINDING AWAY® Skin Polishing Scrub to smooth the surface of your skin. Take a dollop of HIGHER EDUCATION GRINDING AWAY® and scrub your skin all-over with a washcloth in circular motions to lightly slough off dead skin cells. HIGHER EDUCATION GRINDING AWAY® does a great job, but if you really want to treat your skin right, target the roughest areas of your skin like your elbows, knees and knuckles. See ya dead skin cells!
3. MOISTURIZE, MOISTURIZE, MOISTURIZE
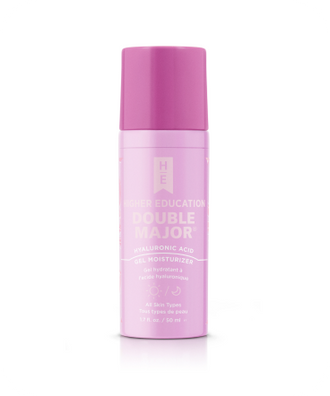
If you're moisturizing the night before, its time to slather on that lotion or moisturizer, some cuticle oil, and take the extra time to reach all those spots that you usually skip when you're in a rush. My favorite moisturizer to use is DOUBLE MAJOR® Hyaluronic Acid Gel Moisturizer on my face, palms, and neck for the perfect pre-tan glow. You will want to give your skin ample time to absorb these humectants, however, if you plan to move right on to step 4 (applying tanner), you will want to apply a much less generous layer and make sure that the lotions are fully absorbed and not wet before applying the tanning solution. Applying too quickly after you get out of the shower or too fast after moisturizing can also cause to color to grab unevenly.
4. CHOOSE YOUR SHADE WISELY
Now that you have a perfectly smooth canvas, it's time to choose the optimal shade based on your skin tone. The easiest way to determine your skin tone is by looking at your wrists. If your veins lean towards blue or purple, you likely have fair-cool undertones. If your veins appear greener, you should gravitate towards products suited for fair to light, warm undertones. If you are naturally blessed with a deeper skin tone a la Kim Kardashian to Rihanna, you too can benefit from the bronzed glow of a self tanner to give your skin that extra shimmer, without the harmful, damage effects of UVA/UVB rays emitted by the sun.
Pro-Tip: Even though you are choosing the safer alternative by sunless tanning, don't forget to protect your skin from the sun's harmful rays and continue to block your skin on a daily basis with HIGHER EDUCATION SPRING BREAK® Oil-Free Sunscreen SPF 30 even when it's cloudy. FYI: The sun's rays are actually amplified by overcast!
5. APPLY IN SECTIONS
Like any other laborious task, it's best to break self-tanning into sections. Patting some solution here and there all willy-nilly will leave you splotchy, uneven and fierce like a tiger. It's easy to underestimate the importance and time involved in a proper BLEND baby BLEND. Just like with makeup it's important to massage the solution into your skin in circular motions and buff it out so you don't appear patchy. Take extra care around your ankles, knees, elbows, and the back of your hands; these are the most common places that make your tan look less natural bronzed, more splotchy mess. Less is more, and I recommend choosing a solution that is BUILDABLE and will allow you to deepen the color on your legs and arms over multiple applications.
6. CLEAN-UP THOSE HANDS
This next step needs to be done ASAP: wash your hands and double check that you haven't slopped any solution anywhere it shouldn't be. You probably spent a good 20 minutes or more buffing yourself to the perfect bronze, but unfortunately, the palms of your hands have been in contact with the solution this whole time. With the exception of mitting your hands (HIGHLY recommend you use one) you still come away with quite a bit of solution that has bled through the mit and onto your palms including the edges of your wrists. Carefully remove any excess tanning solution with soap and water.
7. ALLOW TO FULLY DRY
Before you re-dress or sit down on your new white bedding (made this mistake many times myself), allow the solution to completely dry. When choosing clothing, opt for a loose-fitting t-shirt dress or robe to lounge in while the solution develops. Pay special attention to how long the solution is supposed to stay on before showering. You'll often look 2-3 shades darker during the developing process (so don't panic right away), it will lighten slightly after rinsing.
8. MOISTURIZE, YES AGAIN
Finally, you will want to moisturize one more time! Staying moisturized is crucial to a long-lasting tan and will preserve your color. Also, try to avoid very hot showers or any intense exfoliating until you are ready to reapply your tan.
Pro-tip: If you choose to self-tan your face, prepping the skin is even more crucial to a successful glow. Your facial skin is much more temperamental than that on the rest of your body - from acne flare-ups to dry patches - which can create obstacles for attaining a uniform tan color from forehead to neck (blending is also crucial here.)
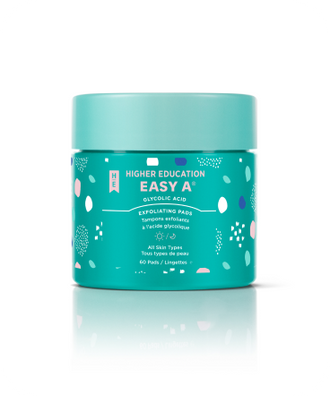
Make sure that you're always caring for your skin and stimulating cell-turnover with HIGHER EDUCATION EASY A® Glycolic Acid Exfoliating Pads on a regular basis. The night before you tan, kick it up a notch and exfoliate using HIGHER EDUCATION GRINDING AWAY® Skin Polishing Scrub to remove dead skin cells, improve skin texture, and reveal a brighter, smoother complexion ready to be bronzed to perfection. Finish with some DOUBLE MAJOR® Hyaluronic Acid Gel Moisturizer to keep your skin ultra-moisturized and BOOM, you're ready to go.
If you follow these steps, and continue to treat your skin well post-faux-glow, you should achieve a beautiful, natural tan that will have you looking like you just got home from a week in the South of France (Aperol Spritz not included).